How To Build a YOLOv5 Object Detection App on iOS?
I built an iOS object detection app with YOLOv5 and Core ML. Here’s how you can build one too!

Photo by Karolina Grabowska on Pexels
This tutorial will teach you how to build a live video object detection iOS app using the YOLOv5 model!
The tutorial is based on this object detection example provided by Apple, but the tutorial will particularly show how to use custom models on iOS.
To build up the excitement, here’s what the final version will look like:
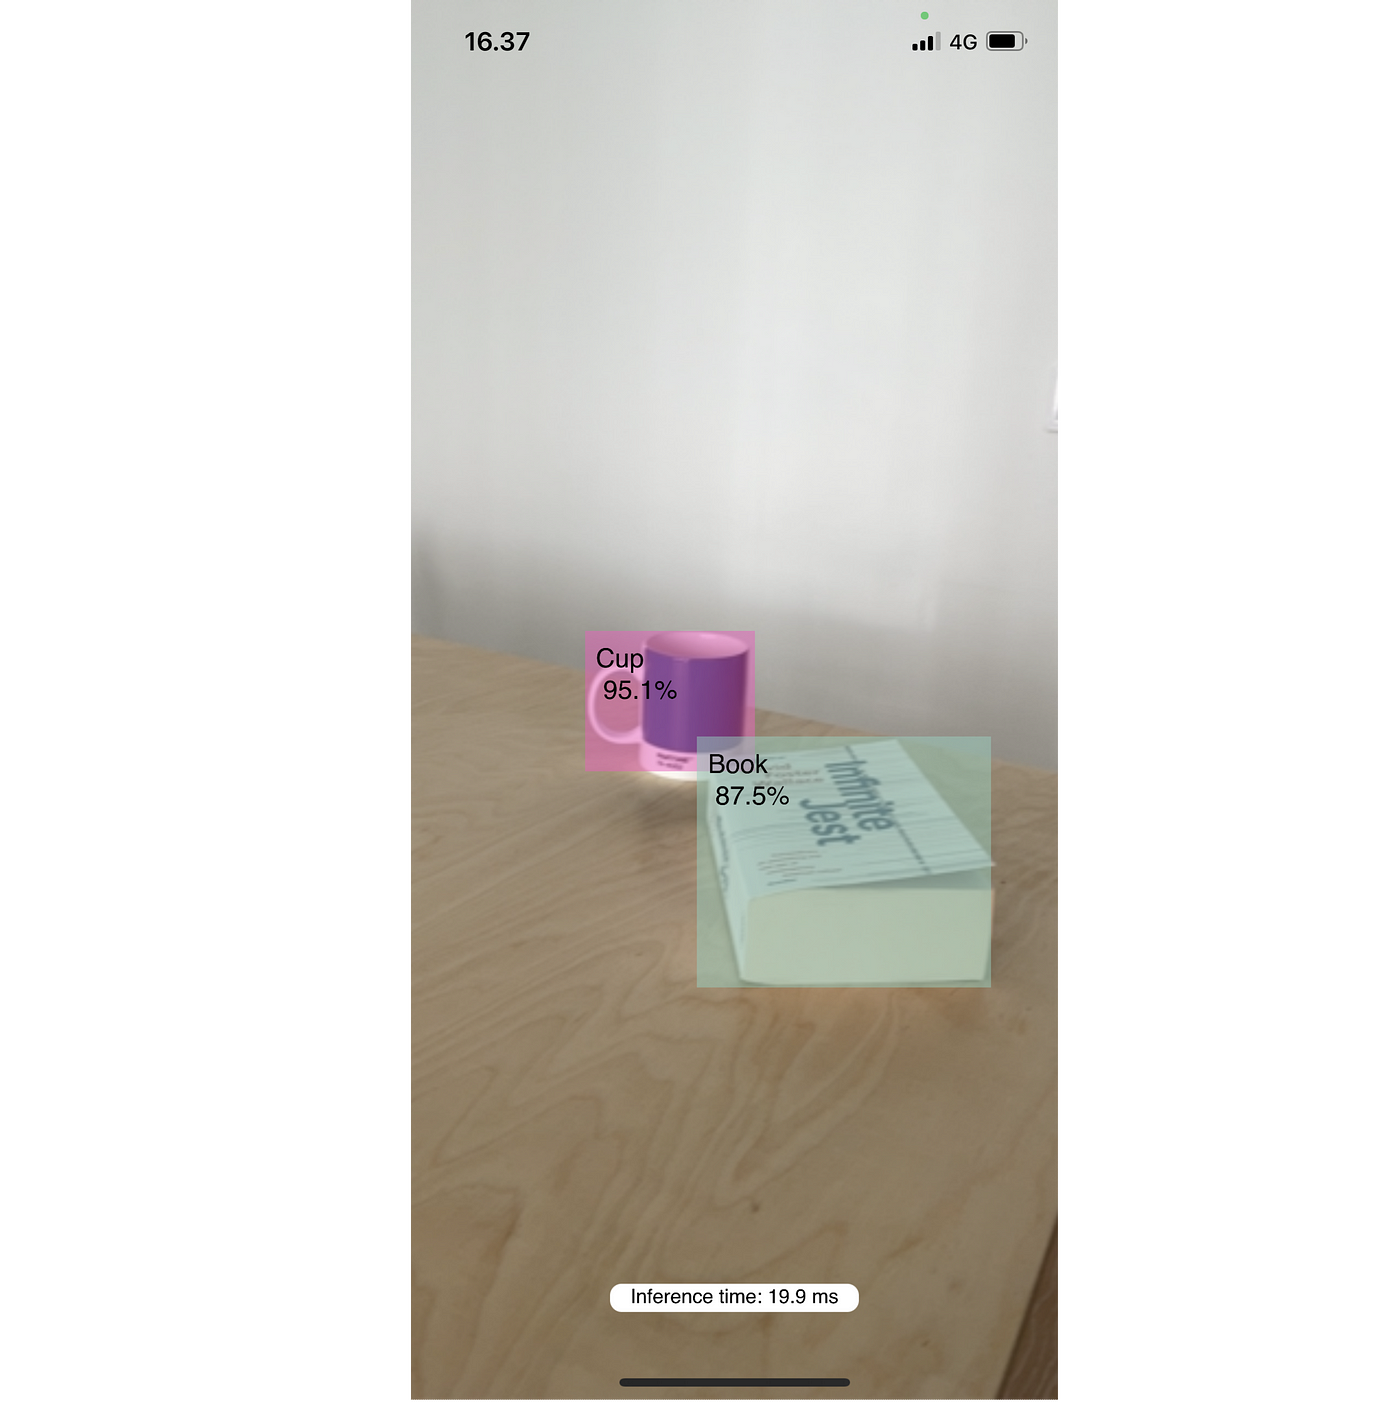
The finished app running the YOLOv5 model on iOS
YOLOv5, CoreML, and Vision
Below you can find a recap of the key building blocks we will need for building the example app.
YOLOv5
YOLOv5 is a family of object detection models built using PyTorch. The models enable detecting objects from single images, where the model output includes predictions of bounding boxes, the bounding box classification, and the confidence of the predictions.
The pretrained YOLOv5 models have been trained using the COCO dataset which includes 80 different everyday object categories, but training models with custom object categories is very straightforward. One can refer to the official guide for instructions.
The YOLOv5 GitHub repository offers various utility tools, such as exporting the pretrained PyTorch models into various other formats. Such formats include ONNX, TensorFlow Lite, and Core ML. Using Core ML is the focus of this tutorial.
Core ML
Apple’s Core ML enables using Machine Learning (ML) models on iOS devices. Core ML provides various APIs and models out-of-the-box, but it also enables building completely custom models.
Vision
Apple’s Vision framework is designed to enable various standard computer vision tasks on iOS. I also allows using custom Core ML models.
Let’s get started — Setting up an Xcode project
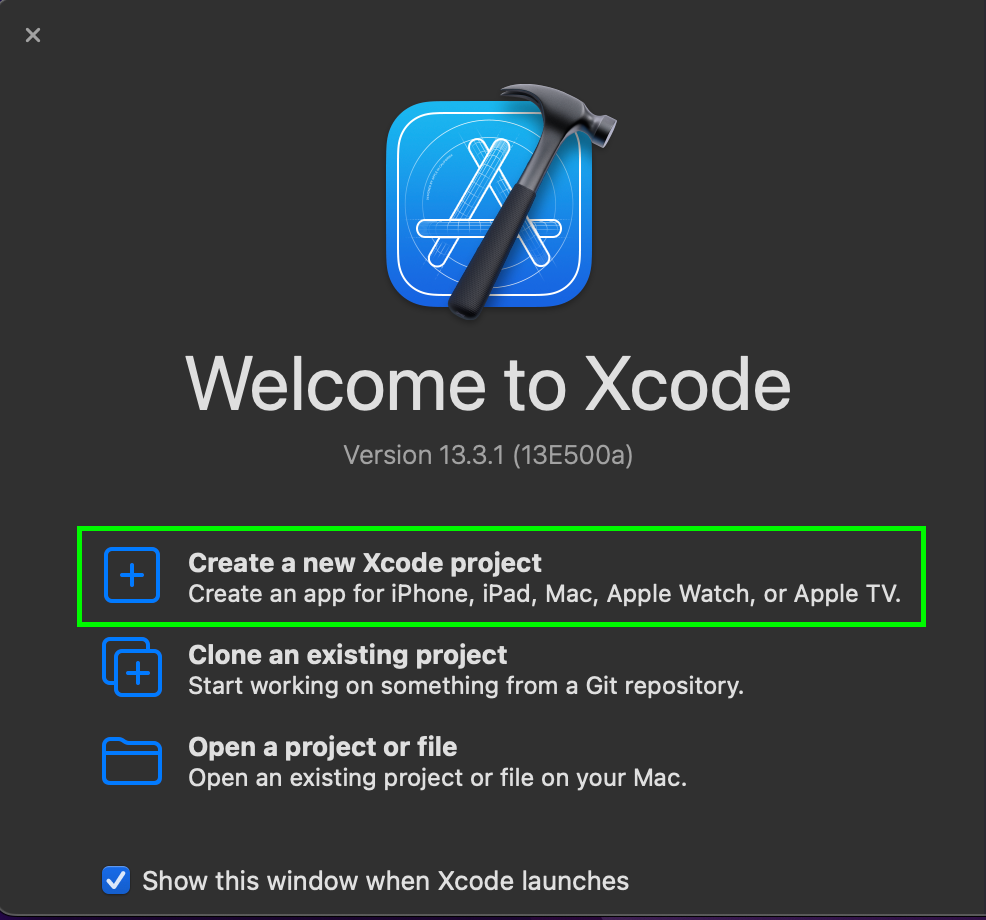
Start by opening Xcode and selecting “Create a new Xcode project”
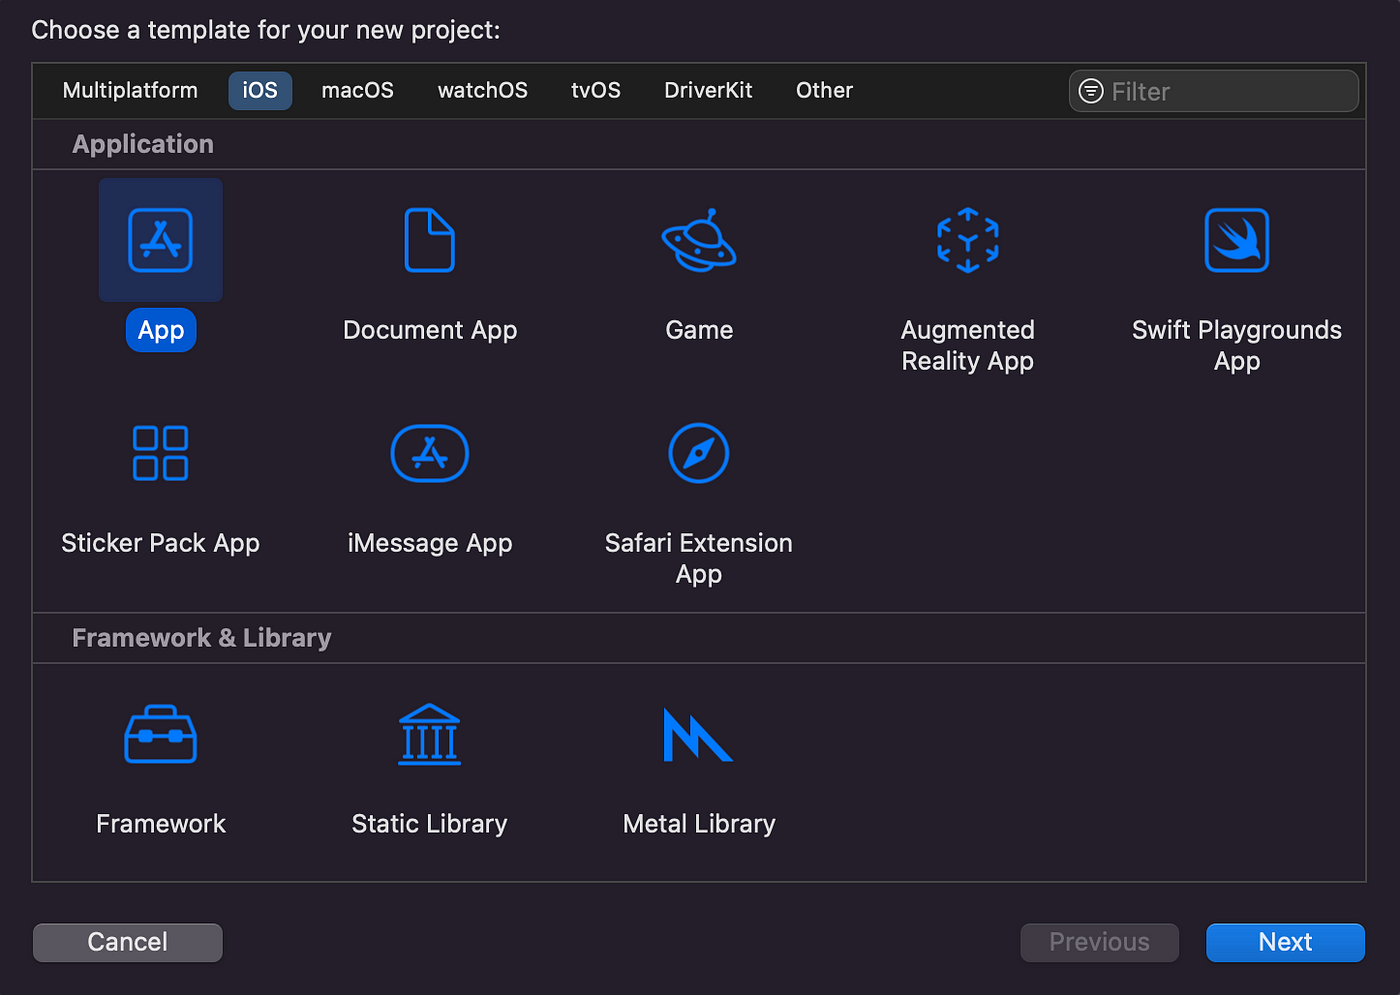
For the template type, select “App”
Make sure to edit the Organization Identifier to for example your Github username and select a name for the project (Product Name). For the Interface, select “Storyboard” and for Language select “Swift”.

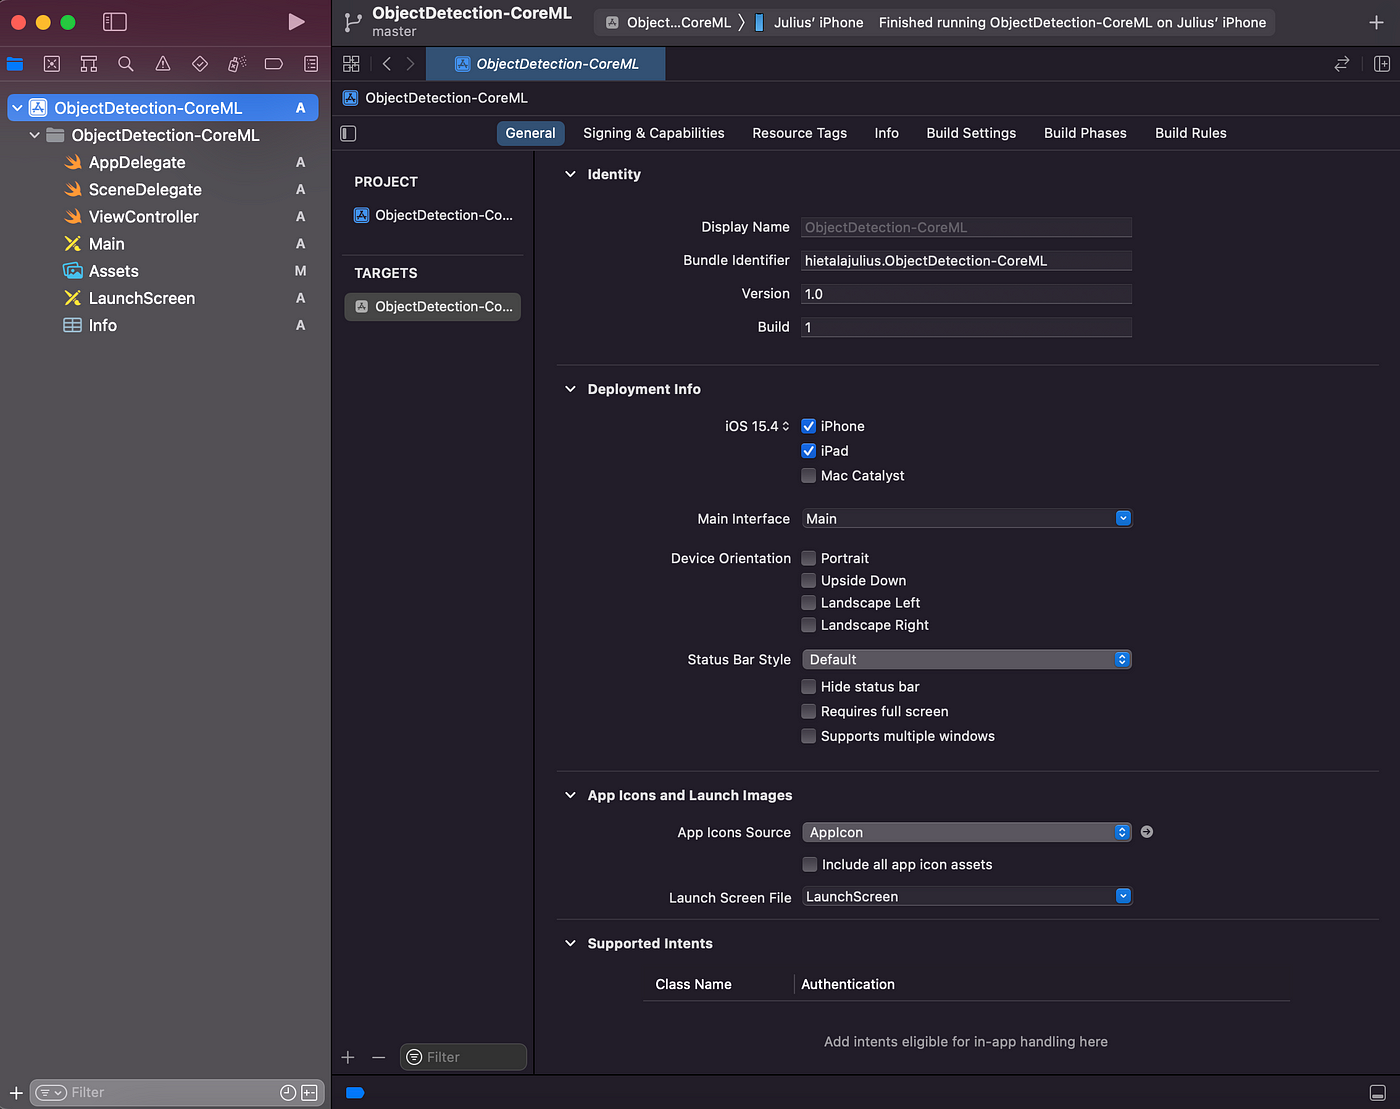
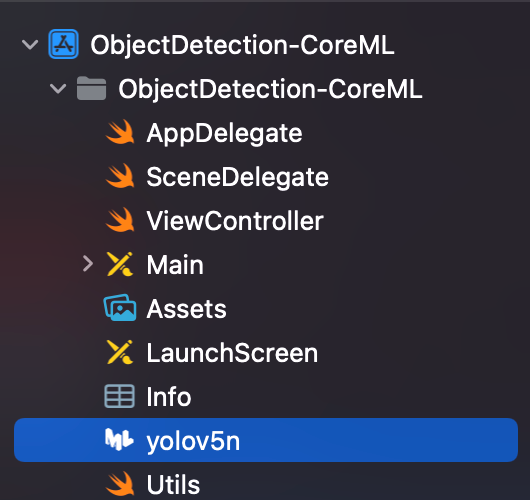
After completing the above steps are completed, the project structure will look as follows:
The Code
The full example source code can be found here but we’ll walk through the important parts in the following sections.
ViewController
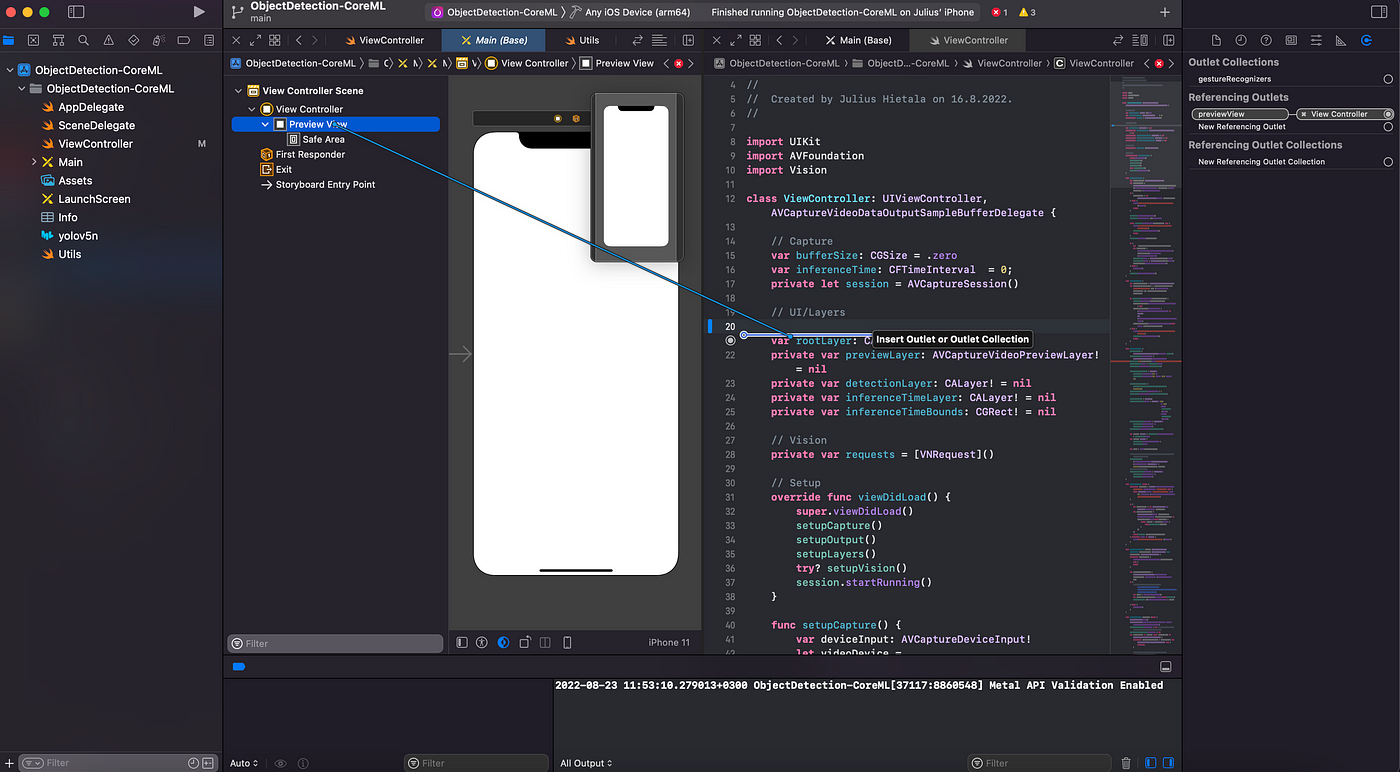
The main logic for the app will be created in the ViewController class. The Github Gist below shows the members of the class. The main items created are the video capture session and visual layers for displaying the output video stream, the detections, and inference time. Also, the Vision prediction requests array is initialized here:
Most importantly, the previewView needs to be connected to the main View in the Main.storyboard file so that the different visual layers can be displayed on the screen. This can be done by selecting the view, pressing control, and dragging it into one of the lines of ViewController:
viewDidLoad
After the class members have been initialized, you should set up the viewDidLoad method which is called after the view controller has loaded its view hierarchy into memory. The method is split into initializing
- Video capture
- Video preview output
- Visual layers
- Vision predictions.
Here’s how it is laid out in the code:
Setting up video input and output
Let’s walk through the different elements starting with setting up video capture and output. Here are the implementations:
The gist (no pun intended) of the logic is to find a device (the back camera) and add it to the AvCaptureSession. The setupOutput method also adds an output to the session. To summarize, the AvCaptureSession is responsible for connecting inputs (camera) to outputs (screen).
Setting up the UI layers
The video visual screen layers are set up as follows:
There are different layers for showing the preview video (previewLayer, which takes the AvCaptureSession as an argument), the detections (detectionLayer), and displaying the current inference time (inferenceTimeLayer).
Setting up Vision
Finally, the Vision setup is achieved with the following:
We will revisit including the actual detection model in the project (lines 2 and 7 in the above gist) in the next section, but the most important part to note here is the task definition i.e. the request that Vision should perform on line 8 and defining the callback (drawResults) for the results.
To tie everything together, we also define a method (captureOutput) that gets called every a new frame arrives from the camera and whose job is to send a new object recognition request to Vision with the new image:
Exporting the detection model
As mentioned earlier, we will need to create the YOLOv5 Core ML model before we are able to run the app. To do so, you should clone this repository with:
git clone https://github.com/hietalajulius/yolov5
For creating the exported model, you will need python ≥3.7 and install the dependencies from the root of the repository with:
pip install -r requirements.txt -r requirements-export.txt
After installing the dependencies successfully, the actual export can be run with:
python export-nms.py --include coreml --weights yolov5n.pt
The script is a modified version of the original YOLOv5export.py script that includes non-maximum supression (NMS) at the end of the model to support using Vision. The weights used in this example are from the nano variant of the YOLOv5 model. The script takes care of downloading the trained model so no need to do that manually.
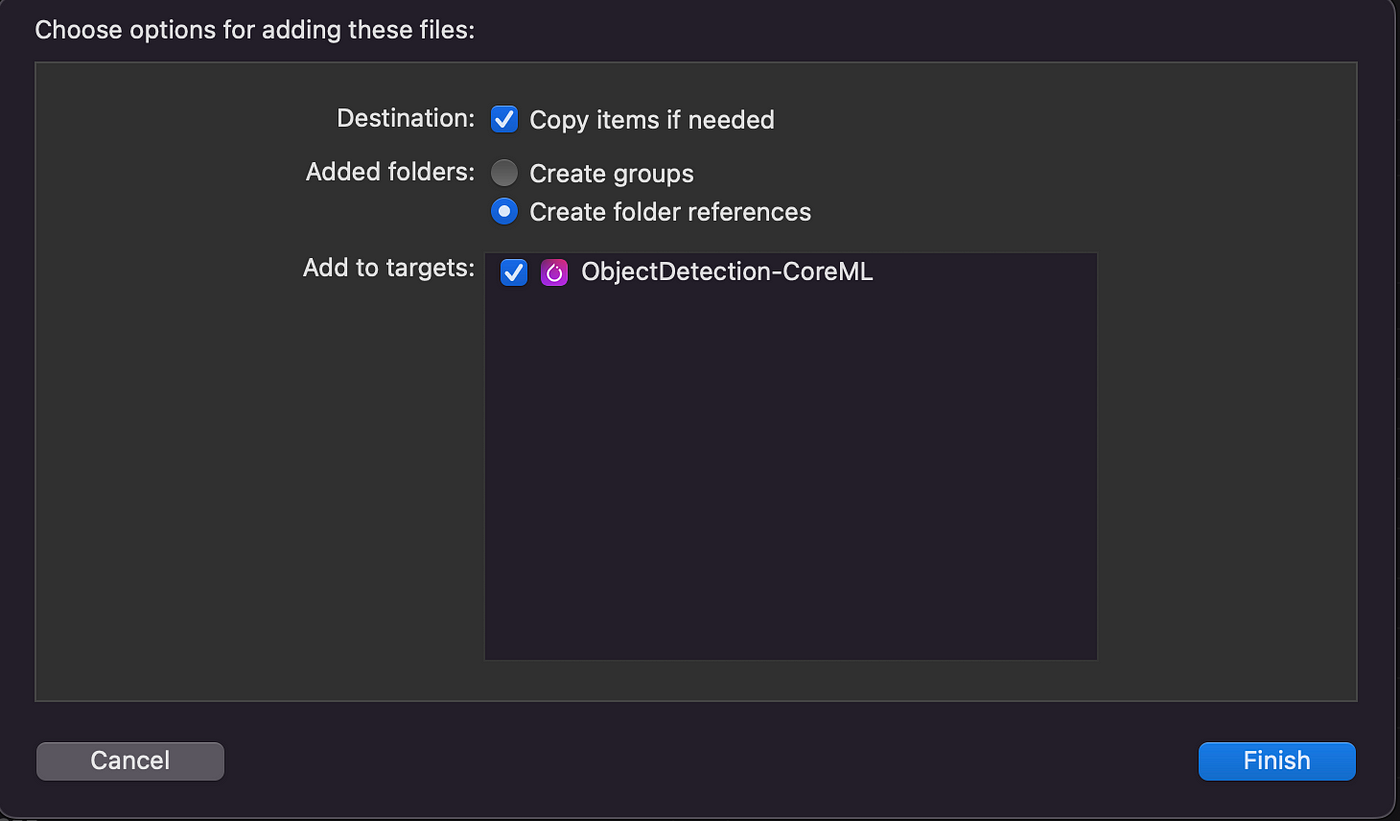
The script outputs a Core ML file called yolov5n.mlmodel, which needs to be dragged and dropped into the Xcode project:
You will be prompted with the following screen, where it is important to remember to include the model file in the built target (“Add to targets”).
Running the app
To run the finished app, select an iOS simulator or device on Xcode to run the app. The app will start outputting predictions and the current inference time:
The finished app running the YOLOv5 model on iOS
Thank you for reading! Feel free to give feedback and improvement ideas!
You can find me on LinkedIn, Twitter, and Github. Also check my personal website/blog for topics covering ML and web/mobile apps!